Decoupage is an extremely fun craft to take part in and is available to anyone of any age. The art of decoupage involves glueing paper-based items and images to objects. Designs can be simple or very detailed.
Decoupage is a great craft for upcycling objects you already have at home or using materials you already have to decorate and personalize an item you’ve just purchased.
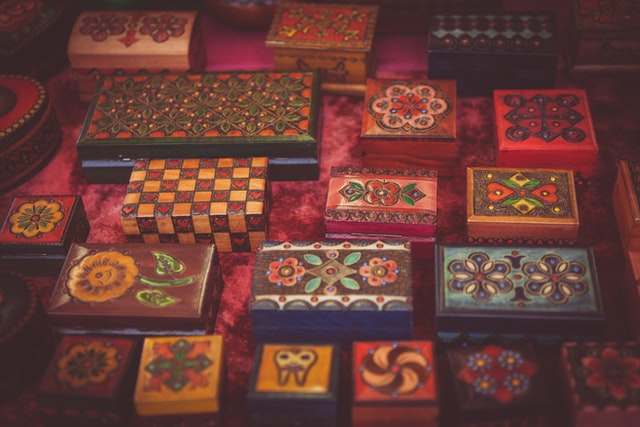
Wooden items are a popular choice to add decoupage decorations to.
There is no right or wrong way to create a decoupage project, it is all about experimentation and creativity, making it an excellent craft for children.
In this article, you will find out the tool you need to get started, the best materials to use, and how to apply them to wood as well as some great tips and tricks to help you master the craft.
What is decoupage?
Originating from the French word ‘decouper’ meaning ‘to cut’, the name literally says it all. The art of decoupage involves cutting out different papers, words, or images and applying them to just about anything in the home.
Decoupage is a quick and easy way to upcycle and decorate a range of items, wooden furniture such as tables and chairs is a popular choice. When usually wood for decoupage there are a few extra steps to consider during the process, read on to find out more.
What items can you add decoupage to?
Decoupage can be added to pretty much anything.
Items include:
- Boxes
- Vases
- Pots
- Plates
- Bowls
- Lamps and lampshades
- Furniture
- Photo frames
- Mirrors
A lot of these items will mainly be made of wood but you can also decoupage on certain fabrics, glass, and plastic.
When decoupaging onto wood remember to sand your object first to create a smooth surface for your design. Most crafters also choose to paint their wood before starting using acrylic or primer paints.
What paper can you use for decoupage?
You can use any paper you already have for your decoupage or you can purchase specially designed and patterned paper for your crafting.
You can use paper as an all-over pattern or cut-out images to add individually to your objects.
Popular places to find images and papers are:
- Wrapping paper
- Wallpaper
- Magazines
- Cards
- Fabric
- Paper napkins
- Origami papers
- Personal photos- scan and print these on a laser printer, the ink will run if printed using an inkjet printer.
- Newspaper
- Sheet music
- Pressed flower petals
What glue should you use for decoupage?
There are a few different variations of glue that can be used for decoupage.
They include:
- Découpage glue – specifically designed for this craft
- PVA glue
- Spray glue (permanent type)
- Varnish
What tools do you need for decoupage?
- Scissors – invest in a good pair of scissors and a pair of small scissors as a big part of decoupage is cutting out images and paper before starting.
- Craft knife – this is a great tool for cutting out detailed areas of an image.
- Brush - but a special decoupage paintbrush to apply the glue
- Soft sponge/cloth – to wipe away excess glue
- Sandpaper
- Cotton wool buds
How to decoupage a wooden keepsake box
You will need
- Wooden storage box
- Acrylic paint
- Sandpaper (220 or 320 grit)
- Decoupage brush
- Decoupage sealer / glue
- Papers of your choice
- Cling film
- Varnish (optional)
Instructions
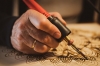
1. Prepare the wood
First, use sandpaper to make sure the wooden surface is smooth. Use a clean, dry cloth to wipe the wood after you’ve finished sanding. A wet cloth may cause the wood to splinter.
When sanding is complete use the acrylic paint to paint the wood in the direction of the grain.
2. Cut out your papers
Cut out the images you want to add to your wooden keepsake box
If you are using napkins separate the layers so you just have the top layer of the napkin to work with. Don’t worry too much about the size you cut as any extra edges can be sanded off at the end.
If you are using thicker materials such as fabrics or wallpaper, make sure to cut squares slightly smaller than you need as these are harder to sand down before varnishing.
3. Apply glue and add your papers
Add glue to your wooden keepsake box using the decoupage brush and then carefully add your papers to the wood to create your design.
If you are using thin paper such as napkins, apply a thin layer of glue, lay the paper down in one corner, and slowly lay it onto the glue, add cling film to help smooth out the napkin without ripping it and prevent wrinkles.
If you are using thicker papers add a thicker layer of glue to the box before adding your papers. You may also consider using a brayer to help get rid of air bubbles on larger areas of work.
4. Finishing your wooden keepsake box
Once you have added your papers and design to your wooden box make sure to add at least three coats of sealer to all areas of your box. Wait 15-20 minutes between layers to allow the group to dry.
Once your box is completely dry you can choose to sand the surface using a ‘wet sand’ technique; adding water to sandpaper.
To fully seal your memory wooden box add a layer of varnish to help your decoupage longer.
We hope you found this article useful and you are already planning how to decoupage everything in your house. The process of creating decoupage is simple, fun, and cheap, there is no need to buy expensive equipment to create decoupage items.
Just remember not to skip sanding when working with wood, don’t use lumpy glue, and wait for each layer to dry before adding the next layer. One thing we do recommend though is to have lots of fun.